


If you’ve read our Broody Hen Guide (and you really should!), you’ll know that hens have a natural state that makes them want to hatch the eggs they’re sitting on. In some cases, they’ll even steal eggs from other birds when brooding.
Of course, with no rooster in the flock, their broodiness will lead to nothing, but if you are utilizing a rooster to fertilize your hen’s eggs, then this is the guide for you!
We’ll go through the reasons why people breed chickens, different methods for breeding, nutrition, chick care and more so buckle up!
Quick Jump
Chapter 1: Breeding Chickens
Chapter 2: Implementing a Chicken Breeding Plan
Chapter 3: Nutrition
Chapter 4: Egg Collection & Storage
Chapter 5: Hatching Chicks
Chapter 6: Caring for Baby Chicks
Chapter 7: Possible Chicken Breeding Issues
Breeding Chickens

Why People Breed Chickens
People breed chickens for a variety of reasons, but the most common reasons are:
-
Egg production and eating
-
Show them at a competition or a State Fair
-
Fun!
Benefits of Breeding Chickens
If you’re breeding for one of the aforementioned reasons, it can be very rewarding for a backyard farmer! You can breed specifically for blue eggs to sell or eat or challenge yourself to breed a potential prize-winner, but many people breed chickens so they don’t have to continuously replace their pullets every few years.
It can be quite rewarding, of course, to watch a chick grow from an egg all the way through hatching and into a glorious lady, but some backyard farmers either don’t have the equipment or the time to manage that.
If you trust your hens to manage the process for you, by all means, do it! You don’t necessarily have to use incubators and artificial breeding techniques. Your ladies are smart and can take care of it for you, but we’ll get into that later!
Implementing a Chicken Breeding Plan

Before you start to breed your chickens, you’re going to need a plan of action.
-
What’s the reason behind you breeding your chickens?
-
Will you have enough time to artificially help them along the way?
-
If not, are you confident that your hens can do it all for you?
All these questions and more go into the breeding mix but as a rule of thumb, you’re going to want to start the process with a goal in mind, the best birds available to you, and a sheet for notes.
You may ask why you need the best chickens available if you’re just breeding for your backyard.
Simply put, these birds are much less likely to produce chicks with diseases and defects, meaning you’ll have happy birds more often than not, and it’ll save you time, headaches and potentially some emotional experiences.
“Best available,” admittedly, is quite a subjective term and can simply mean healthy and happy, so don’t be too worried about making sure your flock is full of prize winners before you even get started.
Chicken Breeding Methods
The two most common methods to breed chickens are:
-
Flock breeding
-
Pedigree breeding
Flock Breeding
This is the most common as it gives your chickens the opportunity to breed at random with a chosen number of hens. Most backyard farms will have just one cock, so this makes things easier for you as a keeper.
Pedigree Breeding
This emphasizes breeding your chicks to have individual traits. This is best done by individually mating a cock to a specific hen for the characteristics you desire.
You’ll need to take meticulous notes during this time if you’re using more than one hen as chances are you’re breeding less for fun and more for show with this method. These notes will give you all the info you need to know about which cock mated with which hen and which chick came from it.
Breeding Chickens for Fun
The likely reason most of you are interested in breeding your chickens is for the fun of it! This breeding method requires the least amount of work. You just need a cock and a hen.
The good thing about breeding your chickens for fun is that you don’t really need any of the equipment that comes with artificially taking care of the eggs. We’ll go into more detail about that later, but if you trust your hen to look after her chicks (and you definitely should) then that’s really all you need!
Your hen will take care of pretty much everything for you assuming her eggs are fertilized.
If you’ve successfully bred chickens for whatever reason, please share photos with us on our Facebook page. We love to see them!
Breeding Chickens for Egg Production
Some of you may want to get into the commercial side of backyard farms such as selling the eggs that your chickens produce. Egg production slows down as your ladies age, so breeding for egg production might be the way to go to avoid having to purchase new pullets every three of four years.
The best way to do this is through crossbreeding. Purebred birds are generally bred for show competitions and have had their egg-laying abilities stifled through the breeding process.
If you have good layers in your flock, you’ll want to make sure they’re first in line for breeding. It’s highly likely that a good layer will pass this trait onto their offspring. Again, taking notes as you breed will ensure you’re successful so you can know which of your chickens are producing the best layers and the most eggs over time.
Breeding Chickens for Show Competitions
It’s not often that a backyard farmer will be breeding their chickens for show but it definitely happens and can be a very fun and rewarding experience.
This is really where the “best available,” analogy from earlier comes into play. Your cock and hen will want to resemble their breed as close as they possibly can before you breed them together.
Of course, these chickens aren’t exactly available for a cut-rate price ($5 up to $25 and more per chick is not unheard of). If your plan is to breed for show, you’re going to want to put a lot of time, effort and potentially money into it, and for some keepers, it’s just not worth it.
There is a chance, however, that you’ll breed a bird so beautiful you’ll have no idea how you did it, whether you’re breeding for show or not! Sometimes, luck is just in your favor, but your note-keeping skills will help you deduce why your chicken came out so perfect.
Breeding Nutrition

What to Feed Your Breeder Chickens
Your breeders are a bit different compared to your broodies, but diet and nutrition will change regardless as you try to promote fertility in your cocks and hens.
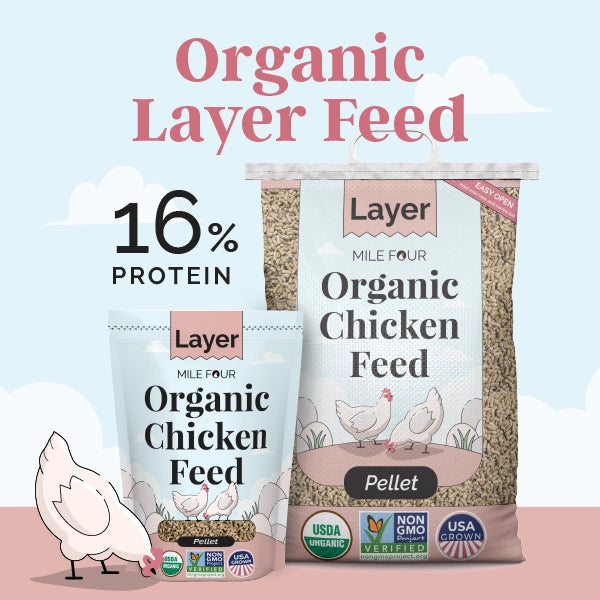
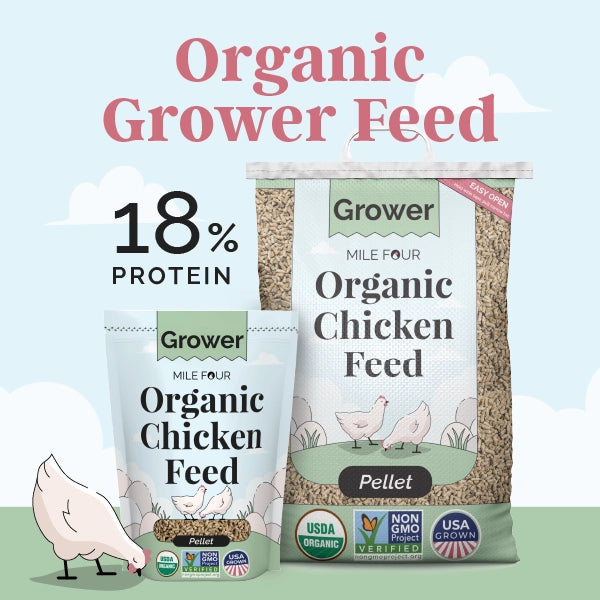
When you’re hoping for a hen’s eggs to become fertilized, you’ll probably want to switch your breeders to a higher protein layer feed. We recommend the 18% Grower Feed found here (duh) as well as using some Oyster Shell to up their protein intake during this time.
This is because higher protein means higher fertility and hatchability, and that’s exactly what you’re hoping for!
What to Feed Your Broody Hens
If you’ve been reading our blogs in chronological order (and you definitely should), you’ll know a little bit about what to feed a broody hen!
During her broody period, she will not eat a whole lot, and you shouldn’t be surprised if she doesn’t even leave the nest for the first day or two.
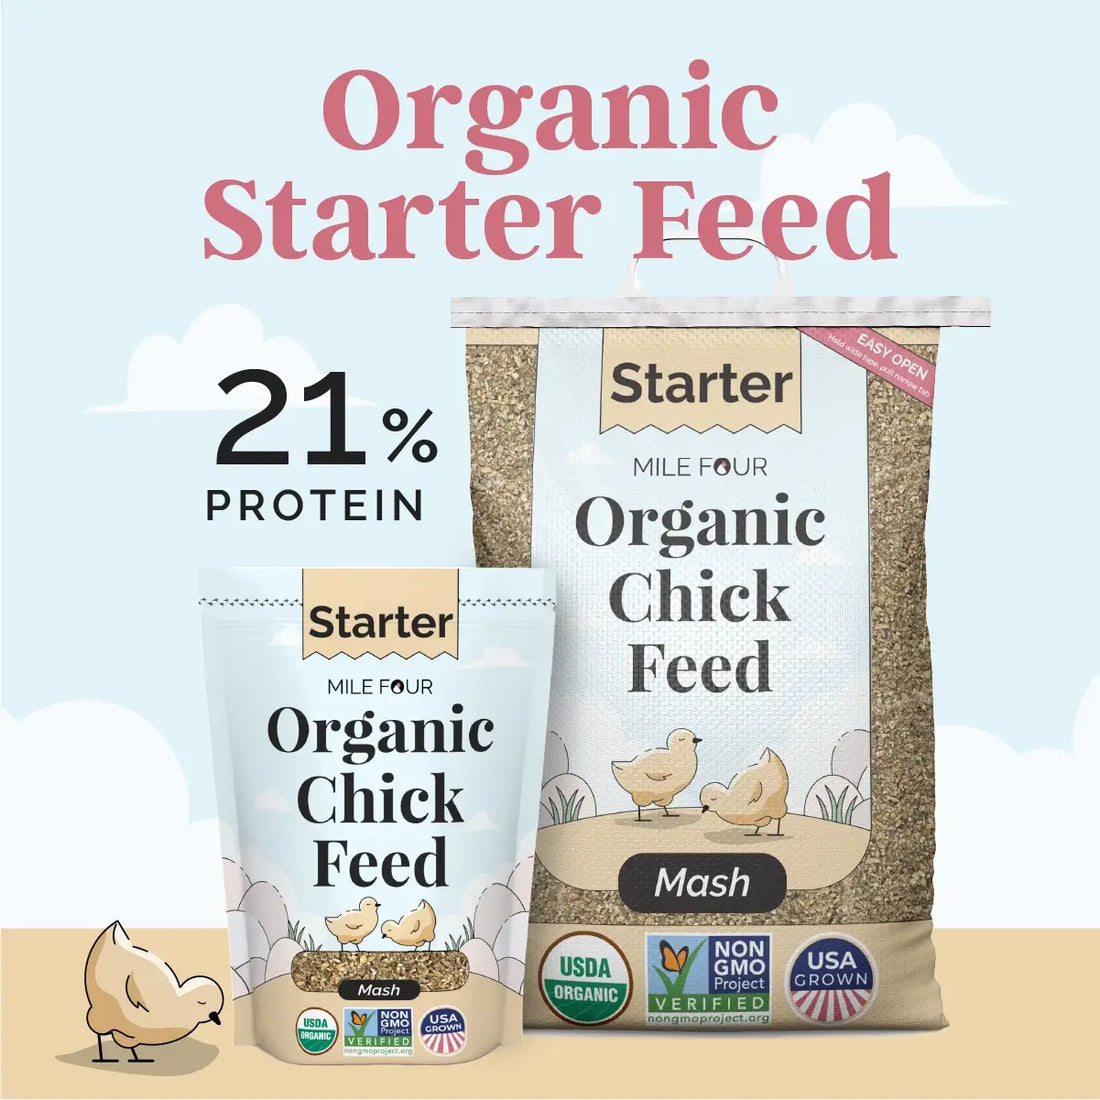
Once she does leave the nest, it’ll only be to eat, drink and poop, and then she’ll head back to her eggs. 20 minutes max! As for the food she should have available to her, we recommend you provide a high protein Starter Chicken Feed because of her infrequent trips to the feeder.
When her chicks hatch, this will be the food you want to feed them too, so having it on hand isn’t a bad idea anyway!
If you’re worried that your broody hen isn’t eating and drinking, you can encourage her by gently lifting her off the nest and placing her close to the feeder.
There is a chance however that she’s been eating when you’re not around, so don’t worry too much if she still doesn’t seem interested after you’ve tried this.
Supplements
The goal is never to go overboard on supplements for your chicks and their chicks, but you will need to supply them with the necessary nutrients they need because during breeding and brooding they won’t have as much energy as they usually do.
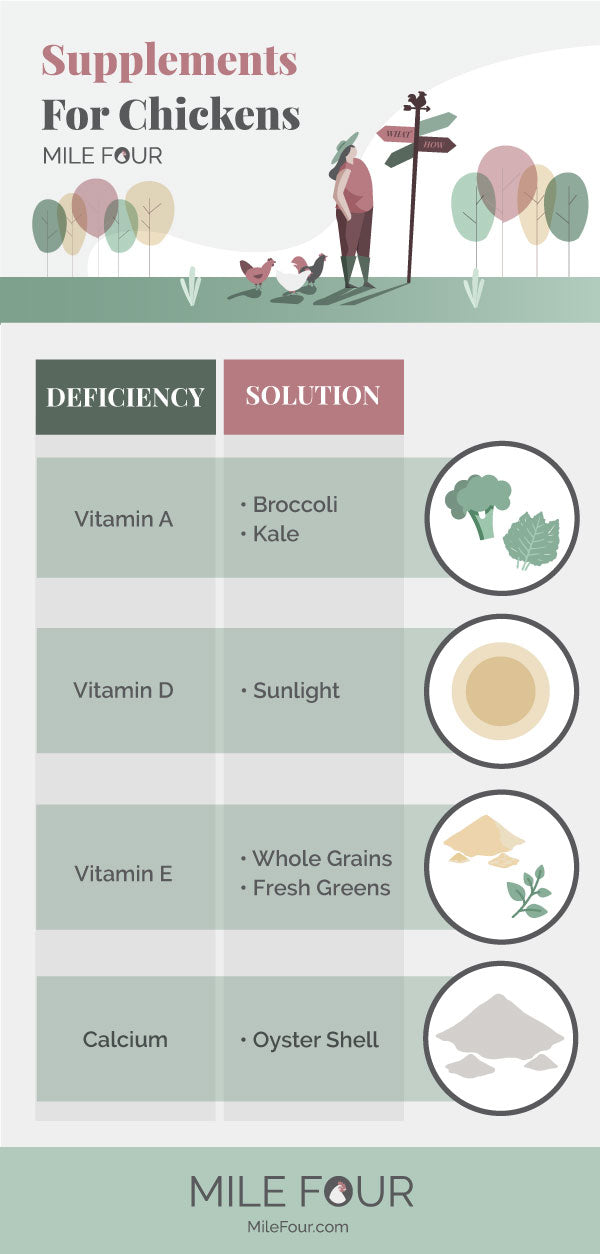
Vitamin A deficiency is all down to an improper diet for chickens. A clear sign of Vitamin A deficiency is stunted growth in your chicks. It can also manifest in different ways, such as dry eyes or a high susceptibility to infection, but stunted growth is the easiest to spot.
The best way to avoid a Vitamin A deficiency is to add certain foods to their feed. Foods like broccoli and kale will do the trick!
Vitamin D deficiency directly impacts egg production, so if you’re breeding chickens you’ll want to keep on top of this. A deficiency can cause thin-shelled eggs because when a chick is growing, the calcium is pulled from the shell itself, and Vitamin D can provide the necessary calcium.
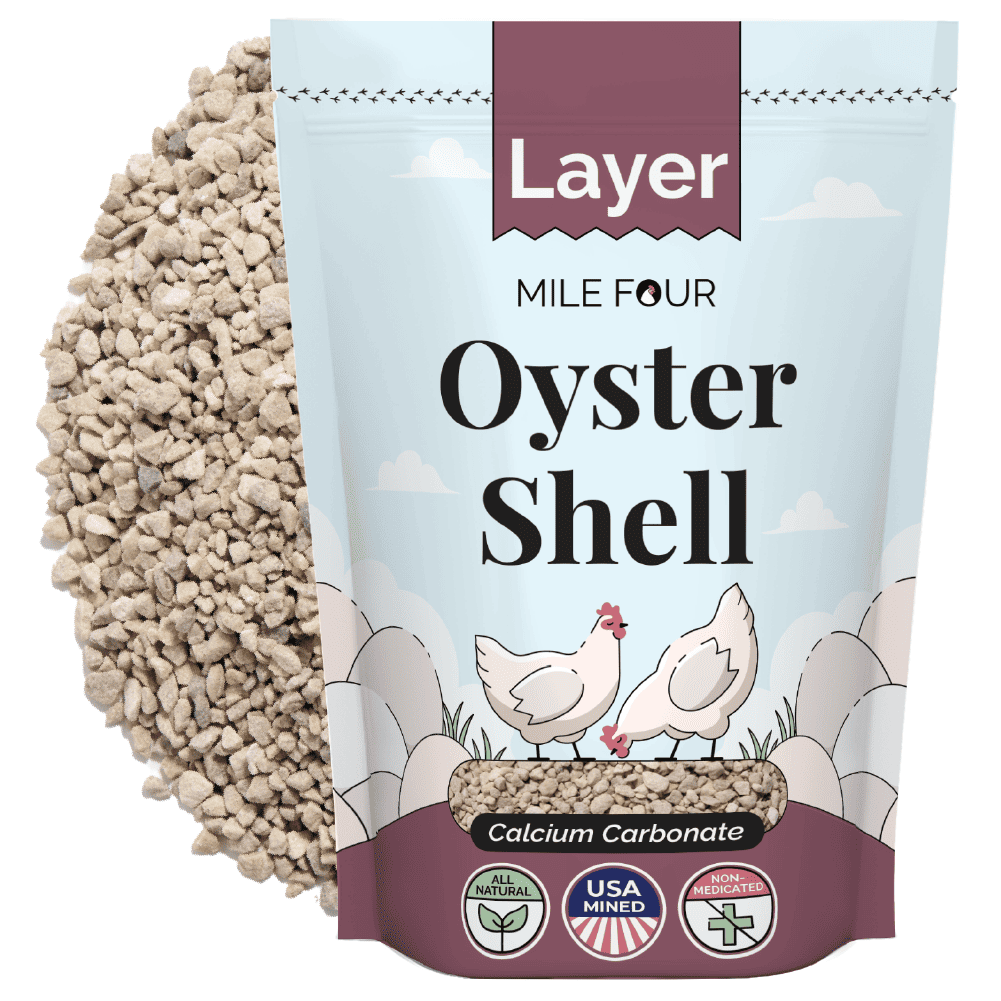
Sunlight for 30+ minutes a day will do the trick, as will cod liver oil, but since this goes hand in hand with calcium deficiency, you can add Oyster Shell as a snack to your chicken’s diets.
Share This Image On Your Site
Egg Collection & Storage

Incubation
Egg collection and incubation can be a tricky subject if you’re doing it artificially. If you don’t have the means to do it artificially, you should feel comfortable putting your trust in your hens to do it for you. Until you actually have to take the unfertilized/rotten eggs, of course. Hens don’t have opposable thumbs. Or arms.
Natural incubation is really quite simple. Your broody hen will sit on the fertilized eggs throughout the entire process, only leaving to eat and drink once a day. You may want to candle these eggs during this time since you’ll absolutely want to get rid of the rotten eggs.
Artificial incubation is best for keepers who want to hatch a number of chicks. This can be helpful for egg production purposes as your hens get older and their laying abilities slow down. Hens can only hold so many eggs underneath them when they’re broody, so if you have a bunch, an incubator might be the way to go.
Egg Selection
Artificial incubation makes egg selection 10x easier than natural since you have full control of when you’ll get to actually see the eggs. With that being said, you’ll still want to leave them alone the vast majority of the time.
Candling eggs is the best method for egg collection, so much so that we’ve talked about it on TWO different occasions already! Once in our Free Range Eggs guide, and once in our Broody Hens Guide.
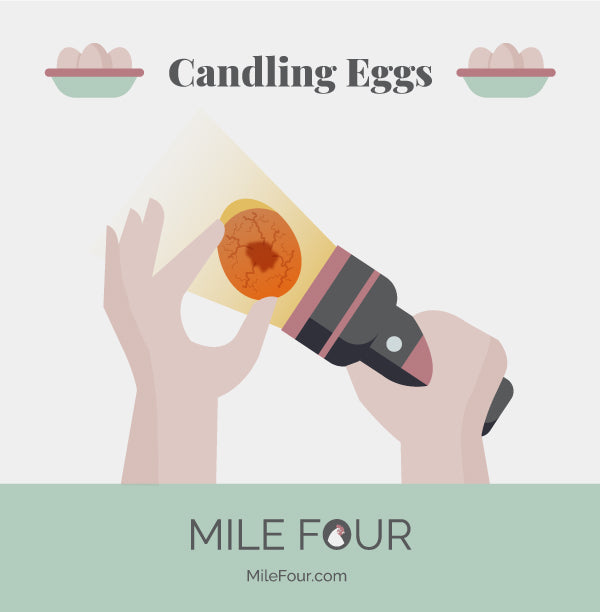
Candling eggs is the process of viewing the inner contents of an egg by placing it in front of a bright light (most people use a flashlight or a specific candling device). The reason it's called “candling” is that they used to use a…...candle. Shocker, eh?
Candling is used to estimate the age of an egg, as well as whether it’s been fertilized or if it’s going to rot. When you’re shining the light onto the egg, if you can barely see the yolk, you’ve got yourself a fresh egg, but if you’re seeing the yolk move around the egg freely and clearly, you’ve probably got an egg that’s a bit older.
You’ll want to make sure you’re identifying the non-fertile eggs early and often because they are likely to burst in the nest and contaminate the other eggs. It’ll also stink and nobody needs that!
The best way to candle an egg is to hold the egg with your thumb and first two fingers. Place the flashlight facing the larger end of the egg. By tilting the large end of the egg slightly toward the light, you’ll be able to examine the contents of the egg.
Candling is a process generally used when hatching chicks using an incubator, but there’s no reason why you wouldn’t be able to do it with your candling device when your broody hen leaves the nest to eat and drink.
Creating a candling schedule is a good way to stay on top of things. Some get really into it and candle their eggs every day, but we suggest doing it every second or third day, and not starting until around day six or seven. This is because your hen’s eggs won’t develop much in those first few days anyway, and it’s harder to tell whether an egg is good, bad or ugly.
Once you hit day 16, you should stop candling completely. We know, we know, you are curious!
But as they go into their last few days of incubation, they shouldn’t be moved or turned at all. It’s unlikely you’d be able to see anything in there anyway since the chicks will have developed so much over the first two weeks.
Below we have provided a handy graphic to show you how to candle an egg.
Share This Image On Your Site
Temperature & Humidity Control
When using an incubator, you should check carefully what the running temperature of the model is. Each incubator will vary slightly on temperature and humidity, especially since some models are forced-air incubators, and some are still-air incubators.
A forced-air incubator should sit at around 99.5°F while a still-air incubator should run at 102°F. Never exceed temperatures of 103°F for forced-air and 107°F for still-air, as these are lethal temperatures for incubating eggs.¹
As you get used to your incubator and hatch a few different times, you’ll start to notice which temperatures work best for you and can tweak as you go.
While humidity control is not as important as temperature control, it should still be managed effectively. This is because there’s a fine line between the perfect amount of moisture and the chicks either not being able to break out of the shell, or suffering from omphalitis. This is when the yolk sac cannot be absorbed, which leads to bacterial infections and death at hatching (and in some cases for up to 14 days afterward).
Every incubator you own will have a humidity device that releases moisture at different levels. Some will have to be filled manually, while others will have a device connected to the incubator that releases the moisture into the air periodically. Regardless, you’ll want to always be on top of humidity control by adjusting the vents.
Opening the vents decreases humidity by allowing air to escape while closing the vents has the opposite effect.
60% humidity is the golden number for incubators. Each incubator is different, so following the instructions of your model closely will be your best bet, but if you want to be able to measure humidity exactly, you’ll need to purchase a hygrometer.
Relatively inexpensive ($30ish), these devices should keep your mind at ease when setting up your incubator to make sure your chicks hatch successfully. Just like temperature control, you’ll want to follow the manufacturer's recommendation for humidity, and make small adjustments for future hatches until you’ve found your sweet spot.
Remember, not every egg is going to successfully hatch, so don’t get too down on yourself or make any drastic changes to temperature and humidity the next time. You’ve got this!
Cleaning Your Incubator
Every incubator should be cleaned after each hatch. If you’re neglecting cleaning an incubator, you’ll see a sharp decline in the success of future hatches, and it will spread bacteria and disease to eggs and a fast rate.
Incubators vary in the ease of cleaning, so you’ll want to spend time planning how exactly you’ll clean your specific incubator. Cleaning and disinfecting are the two things you must do to ensure your future hatches are successful.
If you’re planning on having eggs incubate while another set hatches, we recommend using two separate incubators. Some incubators come with several different sections so eggs can incubate while others hatch, but contamination, bacteria, and disease are big problems with these, so it would be best to have two or more incubators if this is your plan.
Make sure not to use any chemical cleaners on any part of your incubator. The chemicals can be absorbed by the materials of your incubator and will have a negative effect on future hatchings.
Warm water with a small amount of mild bleach is the best way to go for cleaning while you scrub with a brush.
Once you’ve cleaned your incubator, make sure to dry it thoroughly before storing it (or using it again for a future hatching). If it’s a nice day, leave it out in the backyard to make sure it dries completely, and then store it in a cool, dry place like a storage room or kitchen cabinet if you have room.
Hatching Chicks

Chick Hatching Process
Once you’ve done the hard work of candling your eggs, you should have a decent selection for hatching.
You’ll know when a chick is ready to hatch when the egg has a “pip.” The pip is the small hole a chick makes in the egg to indicate it’s showtime. That chick will generally hatch within 24 hours of the pip being made, but there are some exceptions dependant on egg size, temperature, and humidity.
Unfortunately, during the process, you’re going to run into some eggs that simply don’t hatch. It’s likely that you’ll find a chick or two that die after they’ve hatched too. For any intact eggs you find two or three days after the first chick hatches, make sure to candle them again to see what’s inside.
What to do Once Chicks Have Hatched
If you’ve followed our Broody Hen Guide (and fingers crossed you did!) you’ll already be feeding your hen our Starter Feed. You’ll want to continue with the Starter feeding plan for the first few weeks of the chicks' lives. It’s highly unlikely that you’ll be able to separate the hen from her chicks and vice versa with natural hatching, so to make it easier for all involved, stick with the starter feed for now!
Keep your once-broody hen separate from the rest of the flock along with her chicks for the first few weeks. Most free-range flocks get along just fine, but some chickens have been known to kill a very young chick just like they would any other small critter than gets up in their business.
Once you think they’re old enough to be part of the gang, you can start to introduce them to the flock at night time. This is because everyone should be relaxed and more likely to welcome the newcomers as opposed to being rowdy and rambunctious.
Use your discretion, however, and keep your eye on the flock for a little while to make sure everyone is getting along. If you notice any trouble, you can separate the chicks again until they grow a little more.
When your chicks have hatched in an incubator, you’ll want to move them to a brooder once they’re dry and fluffy. Moving them while wet will severely lower their temperature and potentially cause premature death.
A brooder can be made quite easily with an enclosure, a heat lamp and a food source for the chicks who should have at least a square foot of space each. Pine shavings can be used for bedding on the floor of the brooder, and you’ll also want to make sure they have fresh air.
In the brooder, you’ll want to keep the temperature quite high at first. Between 93-95°F will suit them for the first week, and you can start to lower the temperature by 3-5°F per week after that for six weeks total. After this, they can survive on their own outside the brooder.
Potential Chick Hatching Issues
Most issues surrounding hatching chicks have to do with improper temperature or humidity and can generally be prevented with proper planning and management during incubation.
The two most common issues that arise in hatching chicks are:
-
Crooked toes
-
Splayed legs
Crooked toes are directly impacted by the temperature of the incubator being too low, while splayed legs is the opposite. Splayed legs can also be caused by having too smooth of an incubation tray. When the chicks hatch, if they aren’t able to get a good enough grip on the tray, their legs can become splayed, so be sure to watch for that when shopping for an incubator.
Keeping Records
The best way to ensure you can improve your hatching and incubation abilities is by keeping records of the chicks that hatch. This is because if you’re planning on hatching chicks a few times a year or more, you’ll want to avoid the mistakes you may have made previously.
The best way to do this is to use a wing band to keep track of who’s who in the flock. Wing banding is relatively easy, but you’ll want to make sure the chicks are at least one day old and starting to toughen up a bit.
The cool thing about wing banding is the band will grow as the chicken does, so assuming you keep it on, it’ll stay with the chicken for life.
Below we’ve provided a video showing you how to apply a wing band on a newly hatched chick!
Once your chicks have been banded, you should start to write down detailed information about them so you can improve your future hatches as you fine-tune temperature, humidity, cleaning techniques and more.
Not only will you want to take notes about your chicks (color, gender etc.) you’ll also want to take notes about the hatch itself.
- When did it start?
- When did it conclude?
- How many chicks hatched?
- How many didn’t?
- What was the average temperature and humidity?
You get the idea.
It may seem a little overwhelming right now to take so many notes, but you’ll thank yourself in the future when you can look back and see the progress you’ve made, especially if you use our handy graphic below!

Share This Image On Your Site
Caring for Baby Chicks

Nutritional Requirements
As previously mentioned, if you’re letting your chicks hatch naturally underneath a hen, you should have switched her to 21% Protein Starter Feed as soon as she went broody. If you’re artificially hatching, you will need to get the starter feed ready for the chicks.
Before you start feeding your chicks, make sure they have access to and are using a waterer. It’s much easier for them to digest starter feed after drinking water, so set up your small waterer before your feeder.
Chicks will survive a day or two without food after they hatch, but it’ll be a much less stressful experience for them if they eat the day after. The yolk they absorbed in the shell during hatching provides the necessary nutrients they need if you don’t have your starter feed yet.
If you’re worried about the size of your waterer and feeder, there are a number of ways to make sure you’ve got the right one.
For the waterer, chicks shouldn’t be able to step into the water and potentially contaminate it with their poop, but you’ll need to make sure it isn’t too small where the chicks use up the water too quickly.
For the feeder, you’ll want one that can be adjusted as the chicks grow. If you’re unable to find something that is height adjustable, you’ll have to buy a new one as the chicks get larger. These feeders will most likely come with a hanger, as well as fold-out legs so you can have it at whatever height you think is best.
Chicks shouldn’t have to bend too far down to reach the feed as it’ll cause issues with their backs.
The best size for a feeder is one that won’t run out during the day, so be sure to fill the feeder up in the morning and judge how much your chicks are eating. You don’t want to leave old feed in there for too long as it’ll likely get stale.
Only fill the feeder back up when the rest of their food is gone. This will give you a good idea of how much your chicks are going through each day.
Possible Chicken Breeding Issues

As previously mentioned, if you’re keeping your incubator, brooder and backyard farm clean, chicks will likely grow up healthy and happy, but there are some diseases that chicks can contract during the first few weeks of their lives that you can look out for.
It can be sad to lose a chick, but it’s generally not a cause for concern if it’s just one in a batch of 20+, but if you start to see a wider issue of losing chicks, you’ll need to get down to the root issue.
Coccidiosis
One of the most common forms of disease is coccidiosis which causes diarrhea in chicks. It comes from your chicks finding droppings on the ground, or in the feeder/waterer and eating them.
The best way to combat this is to keep your brooder clean and check for poop in the waterer and feeder each time you refill them. Clean your waterer each time you refill it too, so no bacteria stays inside.
If you do find any poop, you’ll want to raise both the feeder and waterer to make it impossible for your chicks to leave droppings in them.
Starving
While not a disease, starvation is an issue among chicks who don’t get the food they need after two days from hatching. As previously mentioned, they can get nutrition from the yolk they absorbed in the shell, but if your feeder is placed too high in the brooder or you’re not staying on top of keeping it full, they’ll likely starve.
One way to encourage eating is to fill a small box with some starter feed before you switch to a feeder. This will give your chicks the opportunity to easily eat and get a taste for their new food instead of accidentally eating the bedding in the brooder.
Feather & Toe Picking
Unsurprisingly, your chicks are going to want to peck at stuff, just like their momma. They’re curious little creatures and unfortunately, this means that their curiosity will get the better of them from time to time.
As their feathers grow in, they will be curious and could potentially start pecking at them. One of the main reasons for this is the lack of food and entertainment as they’re growing up.
You’ll want to make sure there are enough feeders and waterers in the brooder to discourage feather picking, as well as making sure the starter feed you’re using is high enough in protein.
You can also give them some entertainment like a perch or two, or a peck toy that can be a real boredom buster!
Chicks will also peck at their toes from time to time. They’re going to be looking around for food on the floor and find their toes there. Curiosity may once again get the better of them.
Again, one of the main reasons for this is too little food or too few feeders. Make sure you have enough food for your chicks so they don’t get bored and peck at their toes and the toes of their buddies!
Sticky Bottom
A sticky bottom in your chicks is pretty much exactly what it sounds like. When feeding isn’t up to scratch, your chicks poop will be soft and, well, sticky. Gross, yeah, but it can become a real issue for them if you don’t take care of it.
When the poop hardens, it’ll start to clog their unmentionables, and you’ll need to clean them off to ensure they don’t seal themselves up which will lead to death.
Using warm water, you’ll want to soften up the poop again once it’s hardened and carefully pick it off. Little bits at a time work best, as you’ll definitely not want to rush this and tear their skin.
Once clean, dry your chick off and apply some antibiotic ointment to the area so it doesn’t happen again.
One way to avoid a sticky bottom is to make sure your chicks are drinking well. As mentioned before, they’re much more likely to digest their food better if they’ve had access to a waterer before feeding, so make sure you’re following this guide and you should be fine!
Splayed Legs & Crooked Toes
These two issues generally occur during incubation or as a result of hatching. It’s uncommon for them to happen once they move to a brooder, but it has been known to happen.
Splayed Legs will most likely occur due to an incubator or brooder floor being too smooth for your chicks to get a proper grip. This means that their legs won’t develop at the right rate.
If you do notice splayed legs with one or more of your chicks, the best way to correct it is to create what is known as a hobble. This can quite easily be done at home by wrapping their legs with a bandaid to bring them together until their leg muscles can develop properly.
Make sure when using a hobble that the sticky part of the bandaid is not directly touching the chick's legs. You can use some kind of first aid material to prevent this.
This process is likely to take your chick several days with a couple of different applications of the bandaid and first aid material, so it’s better to make sure the conditions in your brooder and incubator are set up so your chicks can’t slide around right after hatching.
Crooked toes are also caused by the ground being too smooth, but is most common due to overcrowding.
You can correct crooked toes the same way you’d correct splayed legs. Of course, the bandaid would go on the toes this time as opposed to the legs.
The process doesn’t take as long as correcting splayed legs, and you will likely be able to take the bandaid off the toes after a day. It’s also not a big deal for your chicks, so unless you’re planning to show them at a competition, you can feel safe that crooked toes will not have a negative effect on their lives.
Additional Resources:
Backyard Poultry has a wonderful article on chicken breeding.
A wonderful article by The Permaculture Research Institute.
An informative article from Omlet.com.


1 comment
Very detailed and informative